October 1, 2018
Happy Tuesday! Today were going to take a little break from fall decor and DIYs to talk about some yummy decomposing organic matter. You don’t have to laugh… I’m not funny, I know.
After tropical storm Florence rolled through here, our garden had seen better days. The plethora of water helped some of the produce while it completely demolished some others. Since most of our plants were summer crops anyway, we decided to start to clean them up and prepare the garden/yard for fall. However, we didn’t just want the plants/flowers to go to waste so before we did anything, we set up a compost container so that we could recycle the plants for next year and reduce waste.
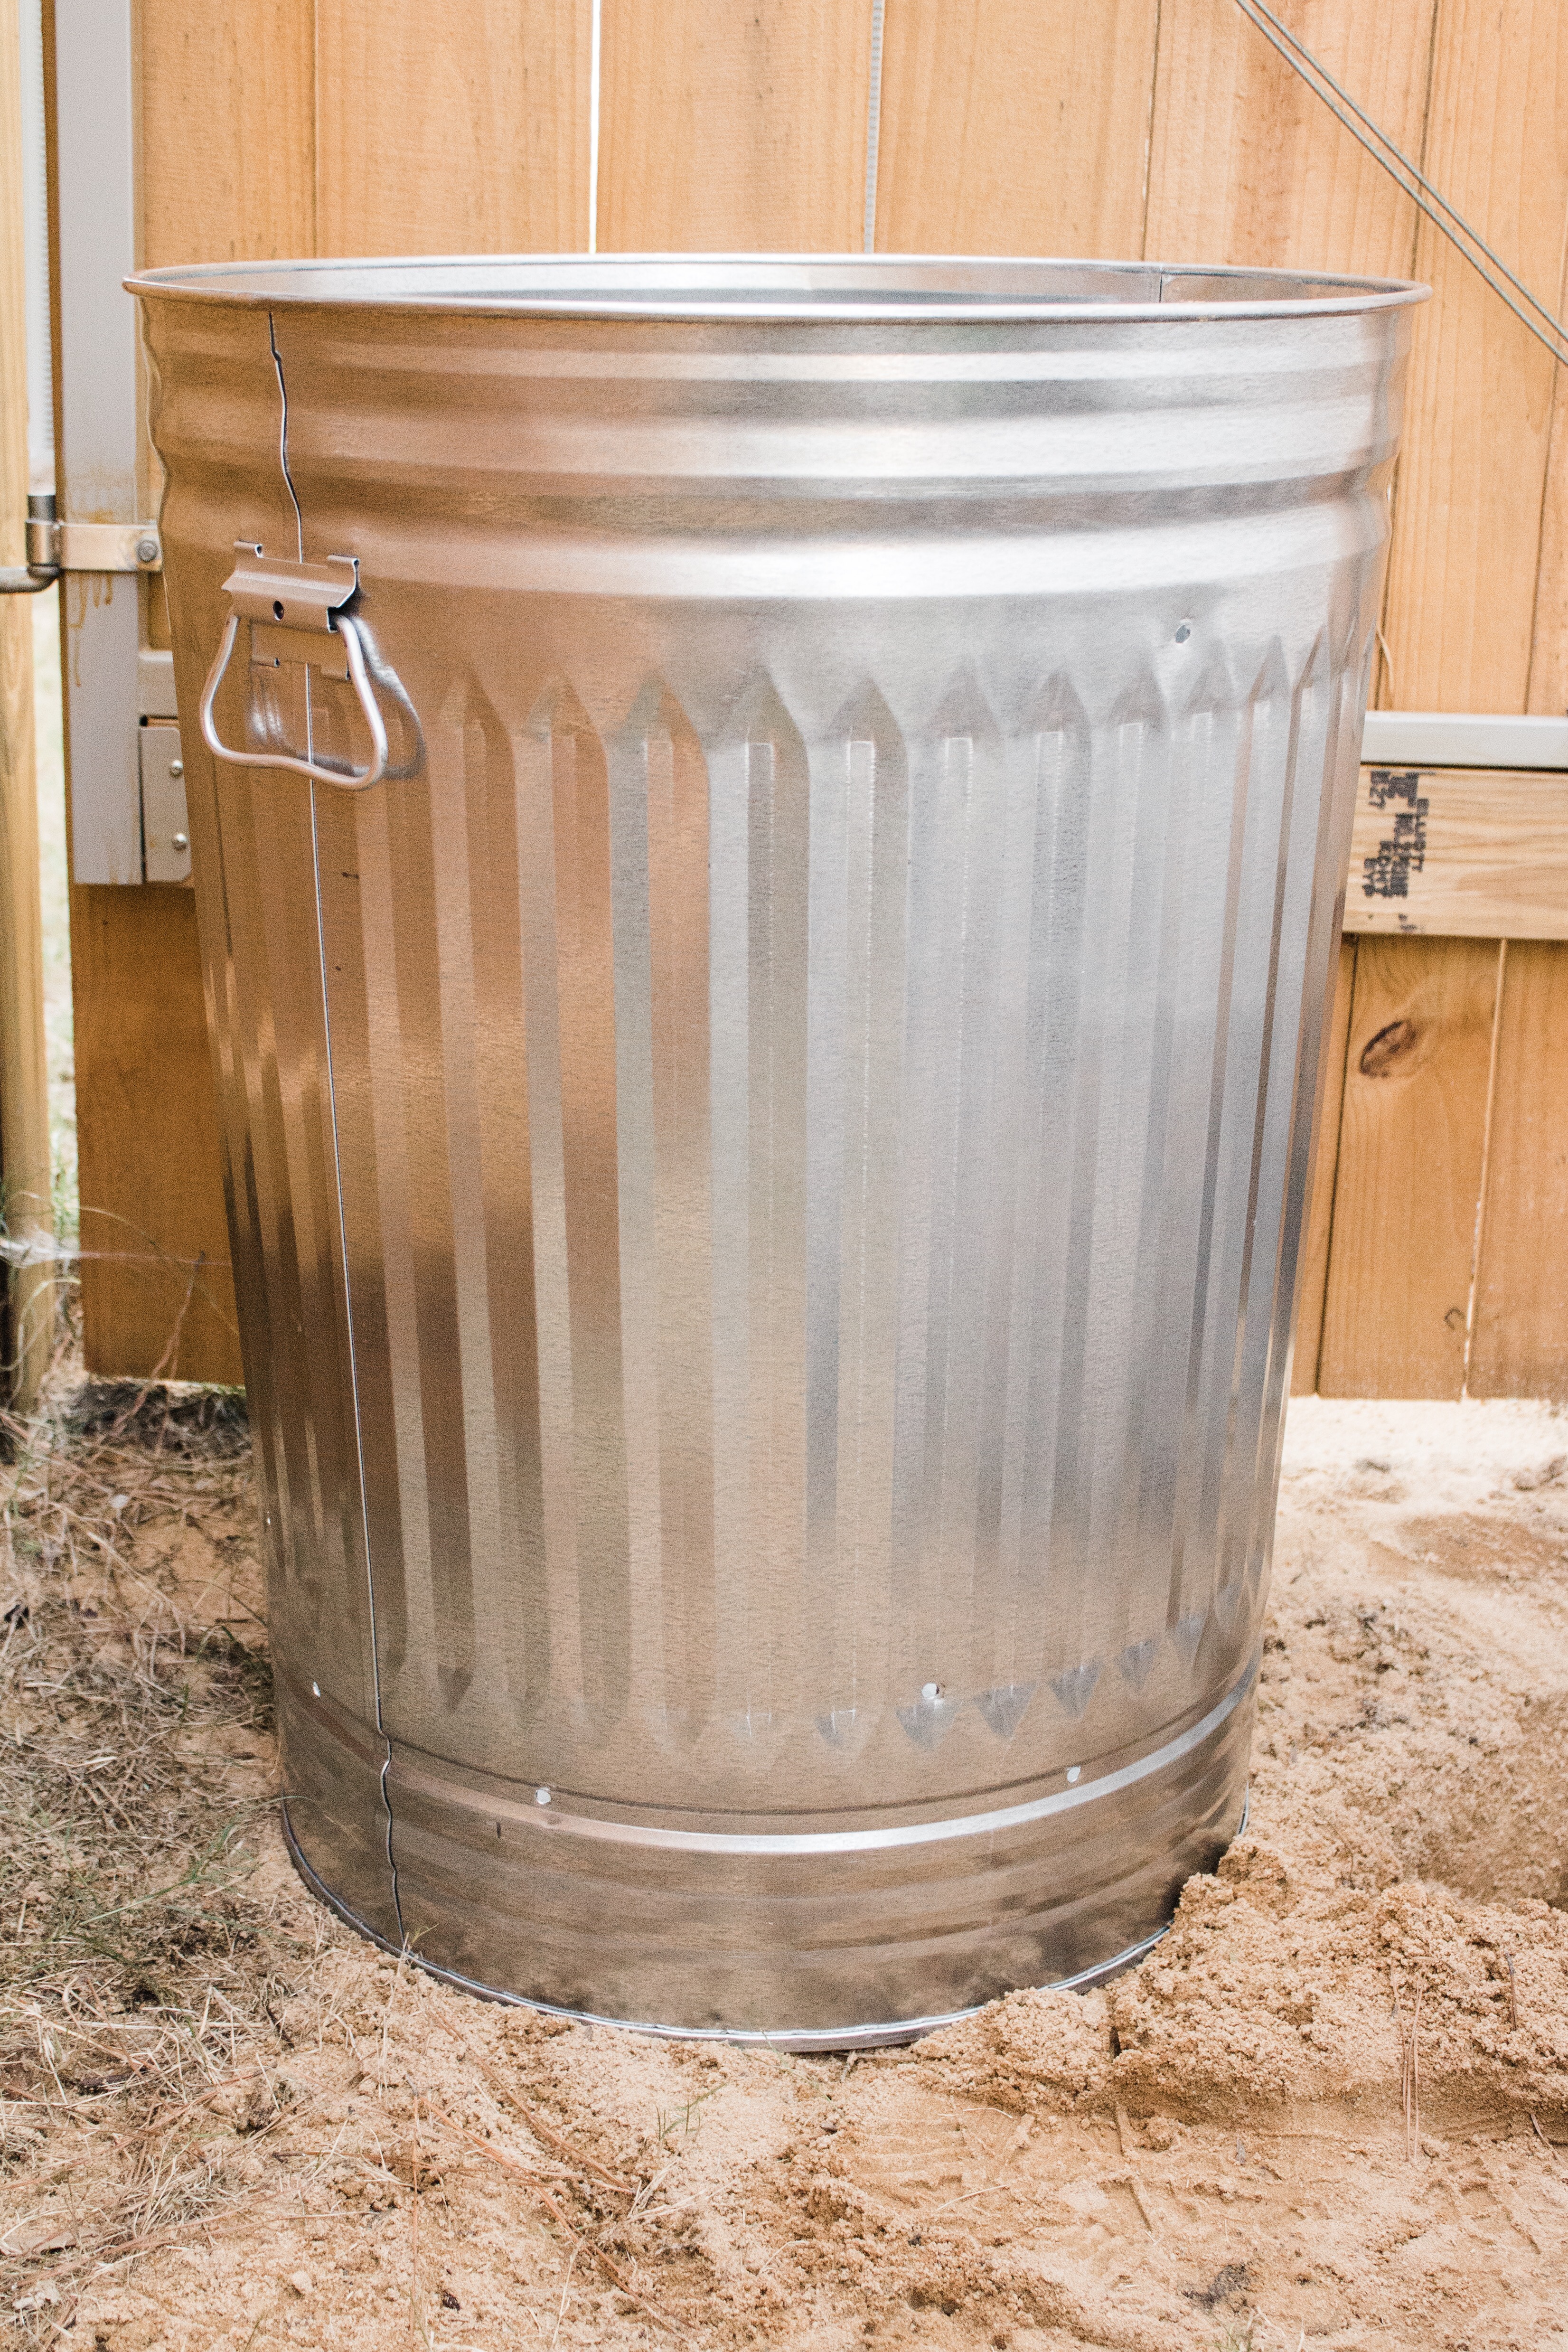
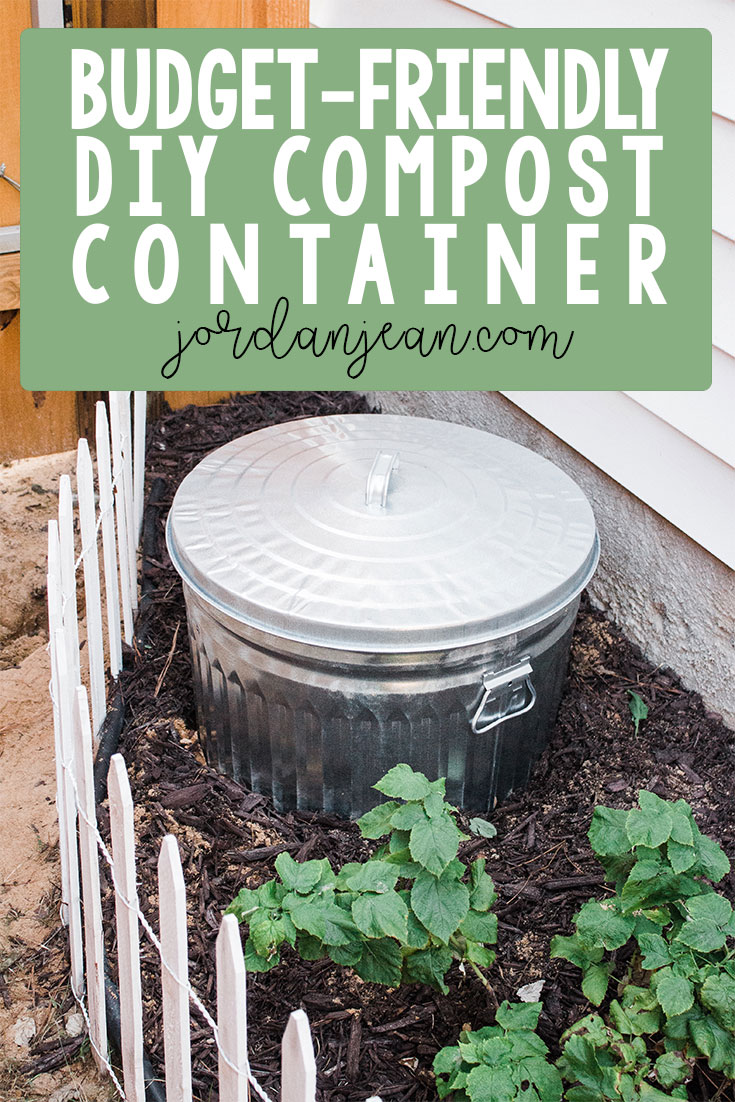
I did some research on composting containers and found a wide variety of options. Some of the more expensive options involved a way to tumble the containers which is really convenient (someday we’d love to have this!). However, they were not within our budget and took up a good amount of space, which we don’t have a lot of. We also didn’t want to use a big plastic container because it didn’t fit well into our aesthetic so we decided to use a galvanized steel trash bin. We were able to complete this project for the cost of the trashcan which at our local Walmart was $20 and reduce waste in the meantime! Winning. I’ve included an affiliate link in the post for convenience.
What you’ll need:
- Galvanized trashcan
- Drill + drill bit (1/4″ will be just fine)
- Shovel
What to do:
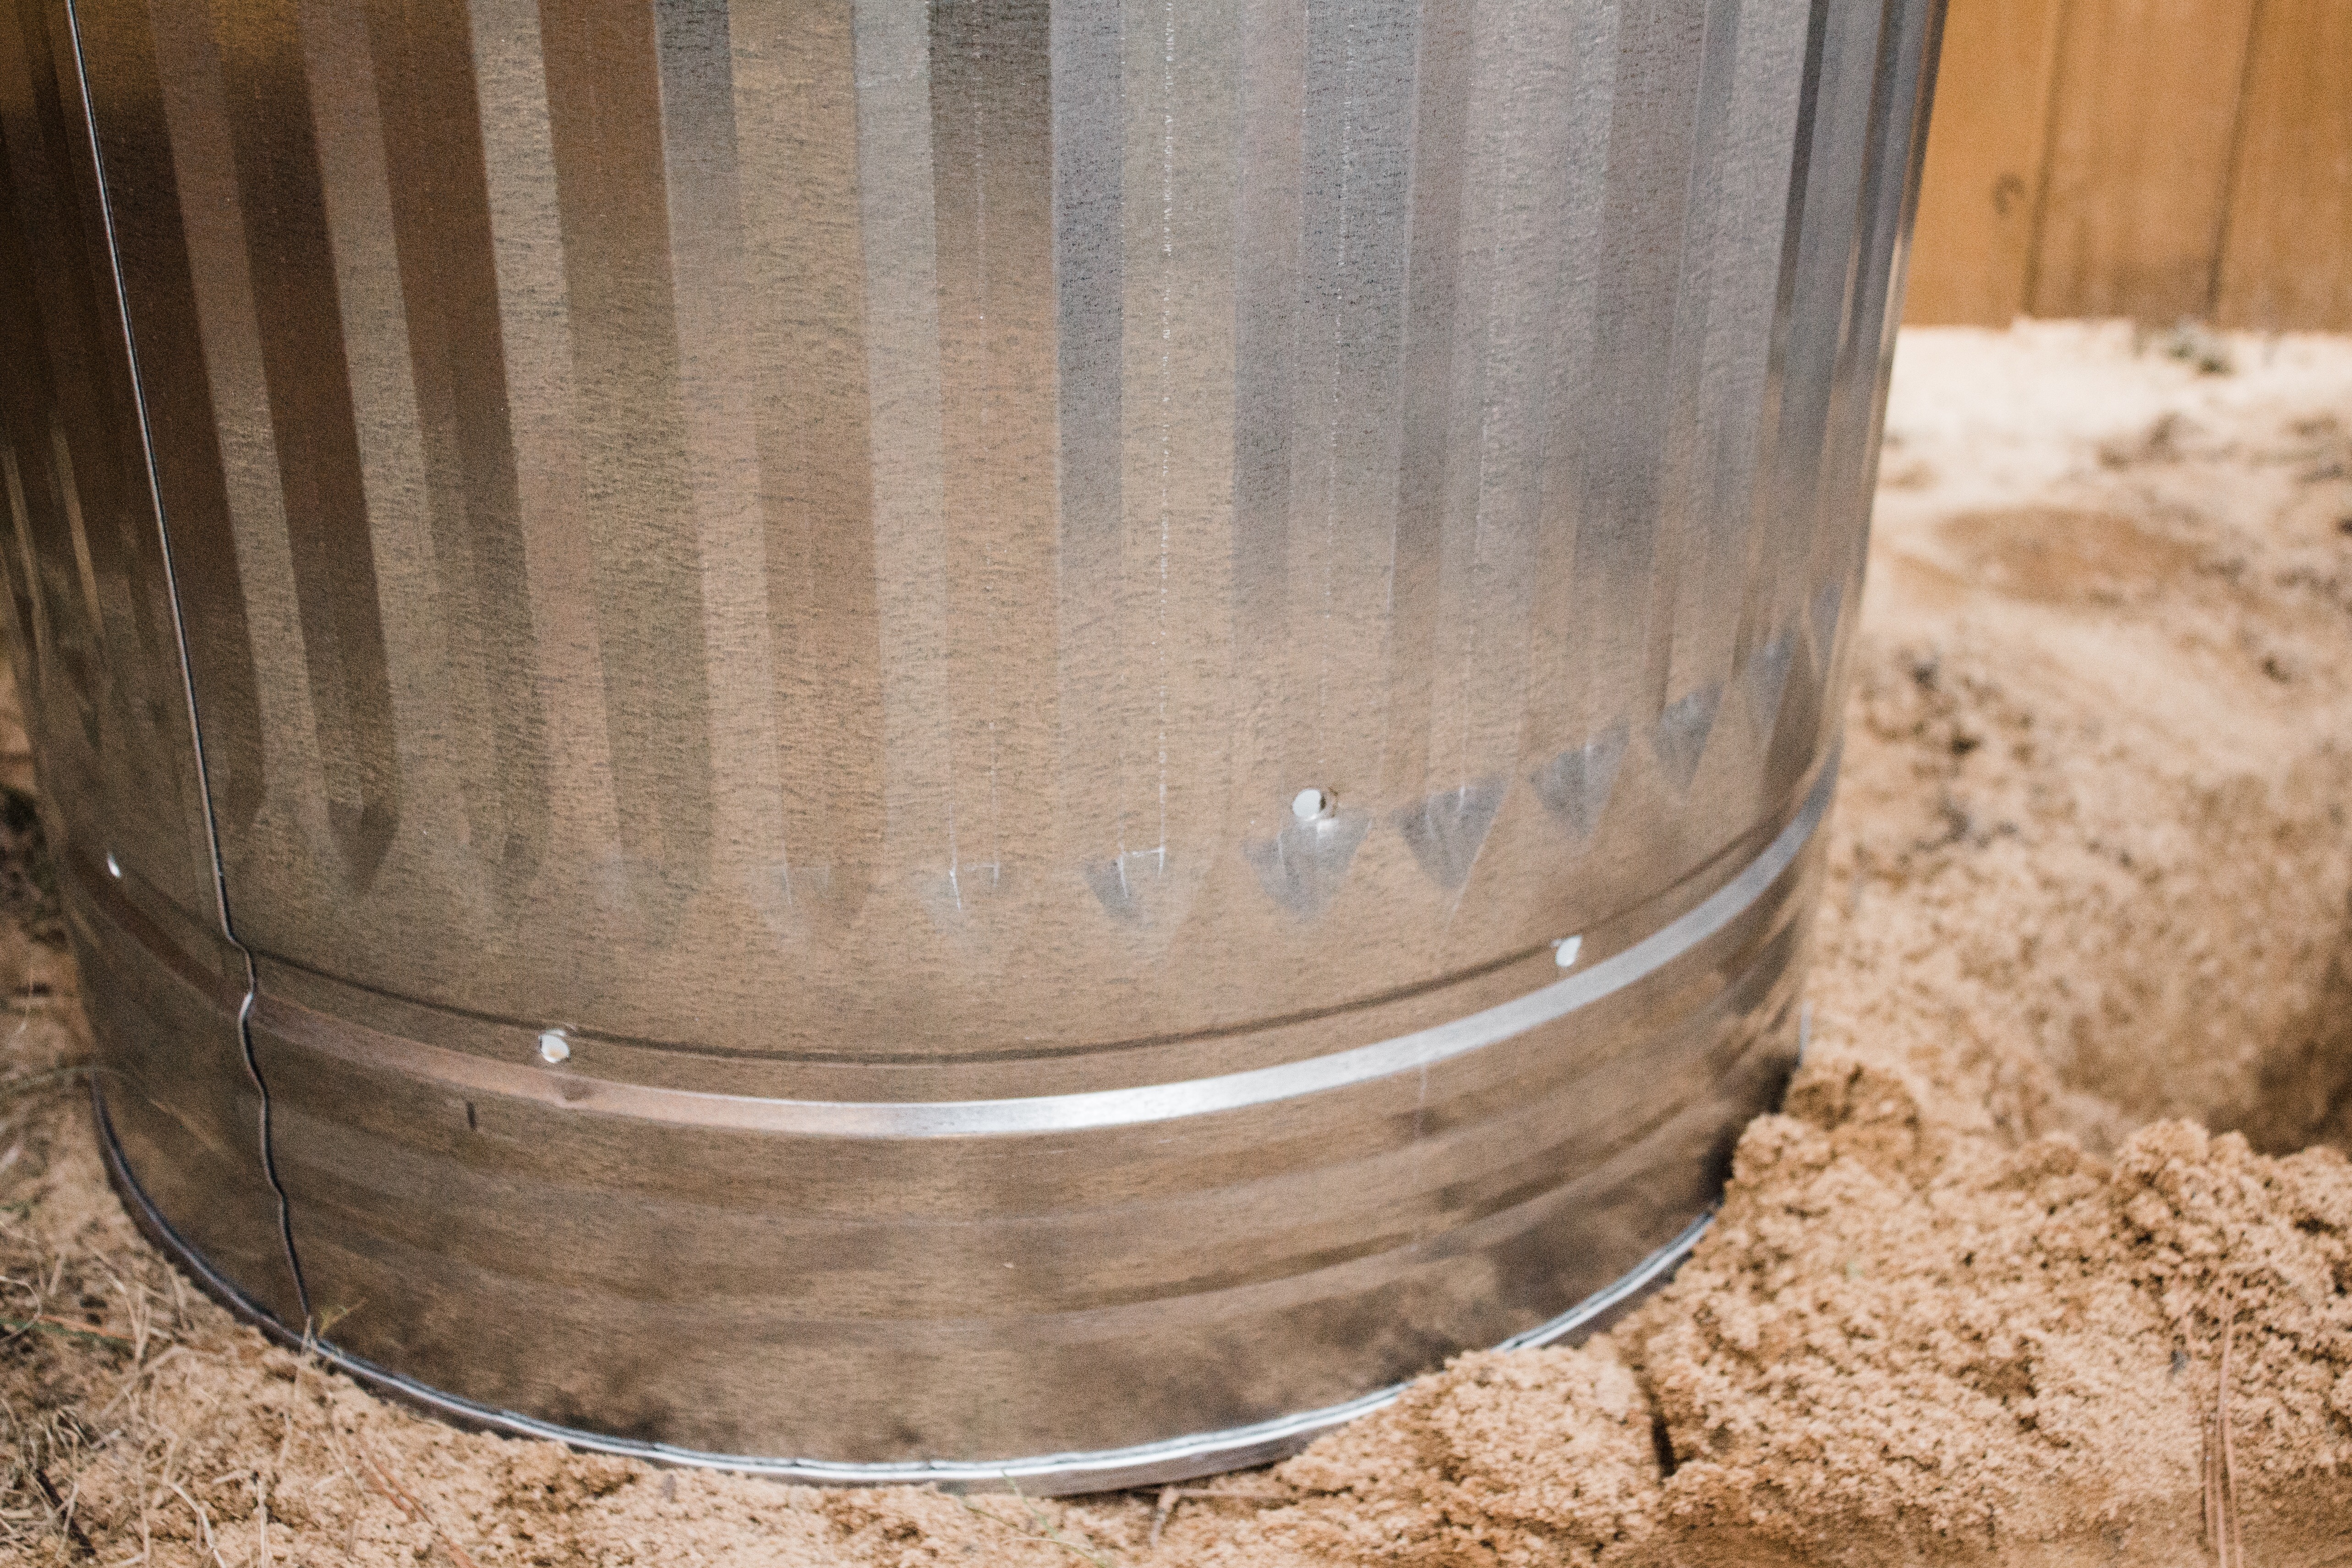
- Drill two rows of holes in the bottom half of the trashcan and a row of holes on the top half. The bottom holes are for the worms to enter (as much as I despise them) and promote the decomposition process and the top holes are for some good ol’ oxygen.

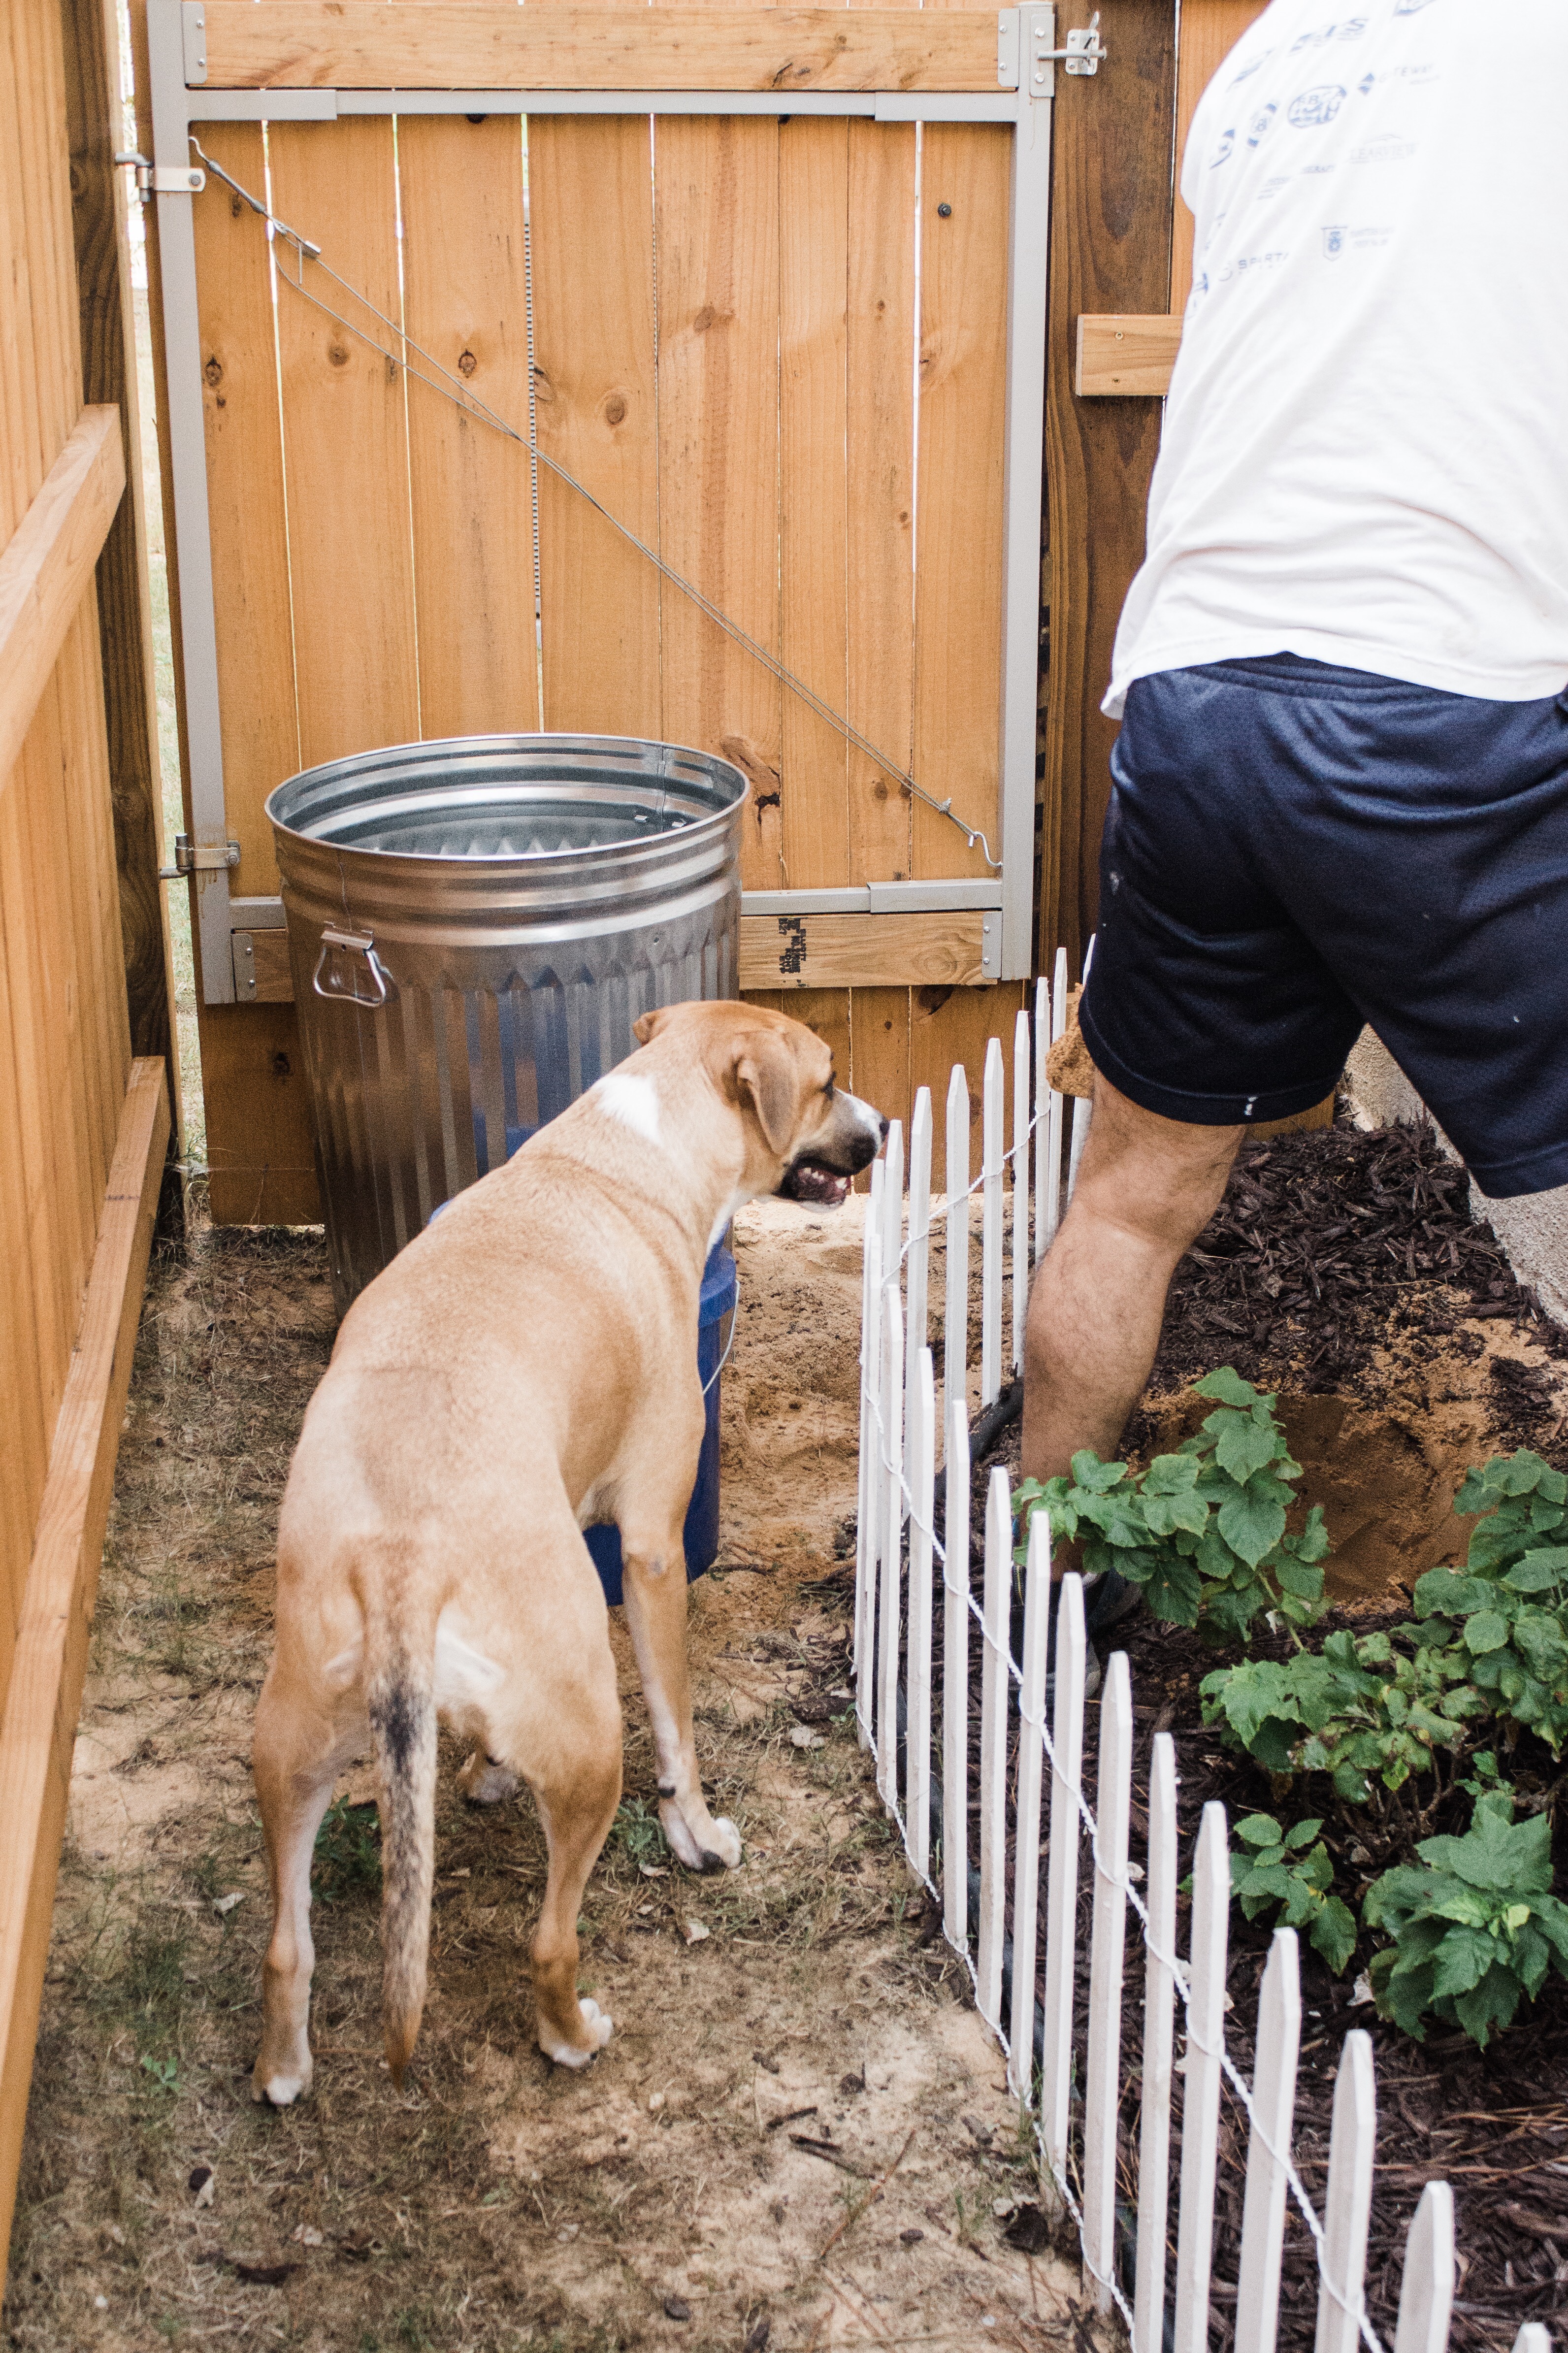
- Select a spot in your garden that does not have standing water issues and dig a hole wide enough and deep enough to fit the bottom half of the trashcan.
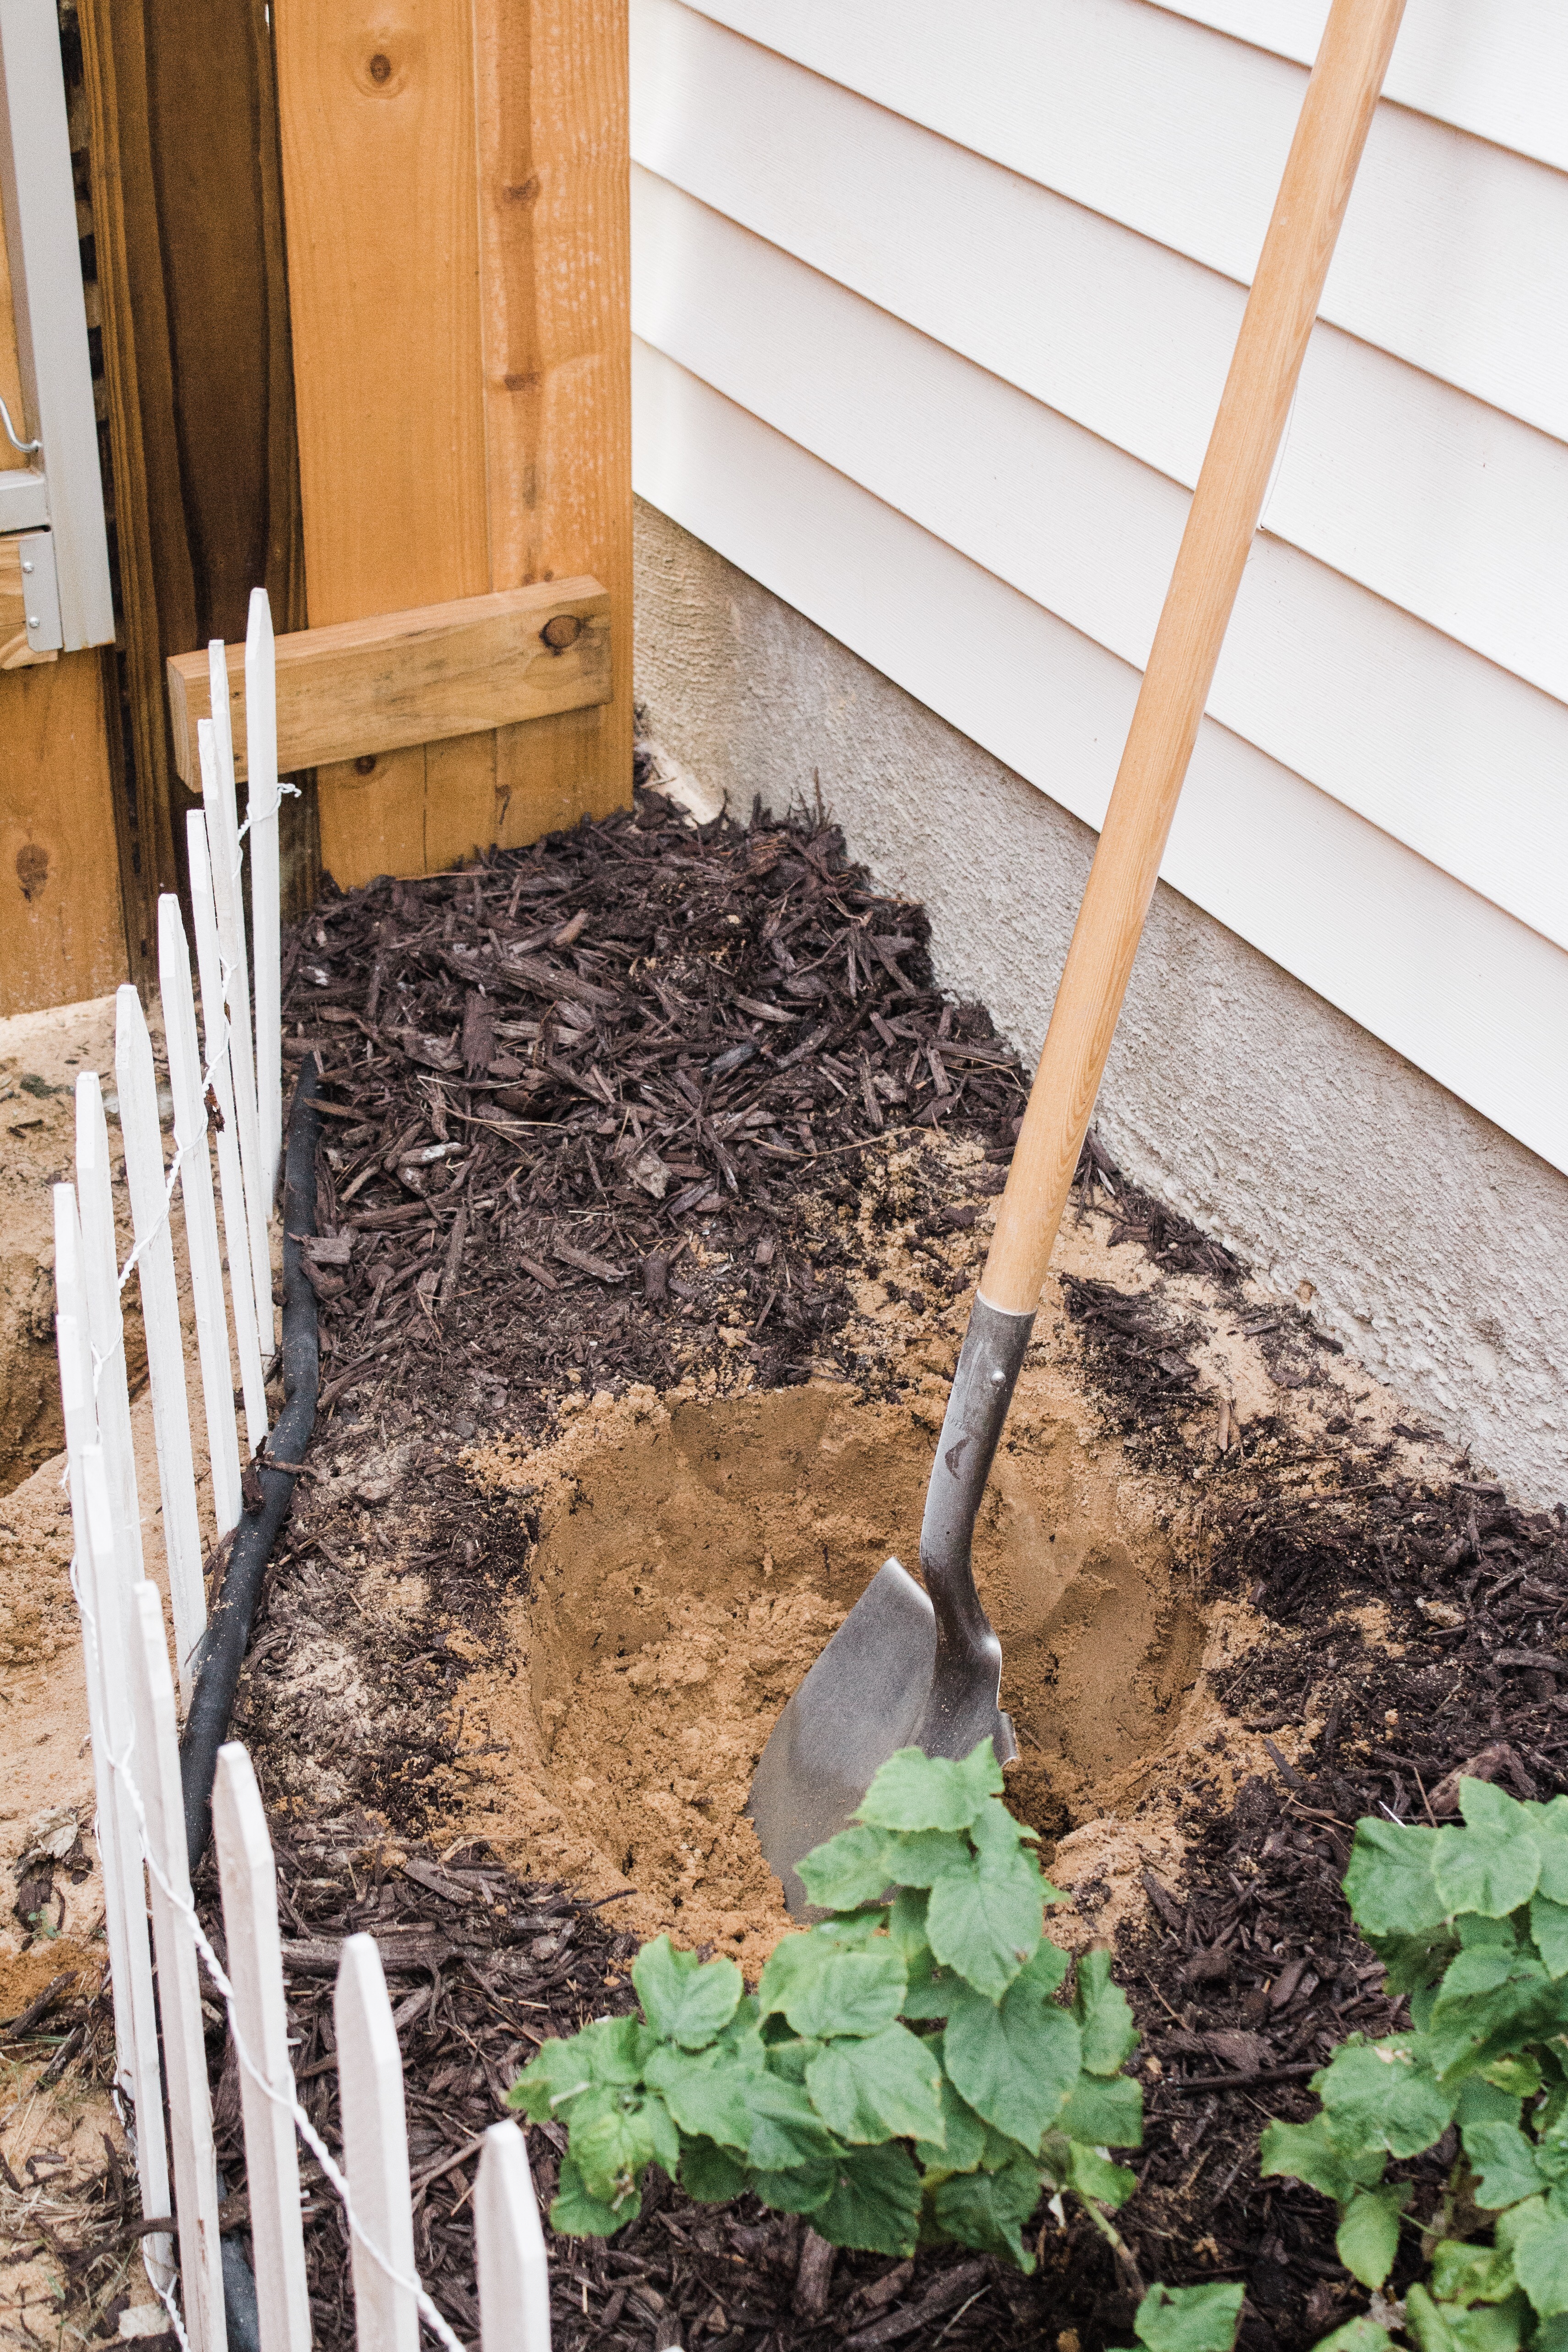
- Place the trashcan in the hole and about a foot of browns to the bottom. For every pound of greens, you’ll want three pounds of browns. I suggest reading this post to help understand the basics to composting! It’s extremely helpful.
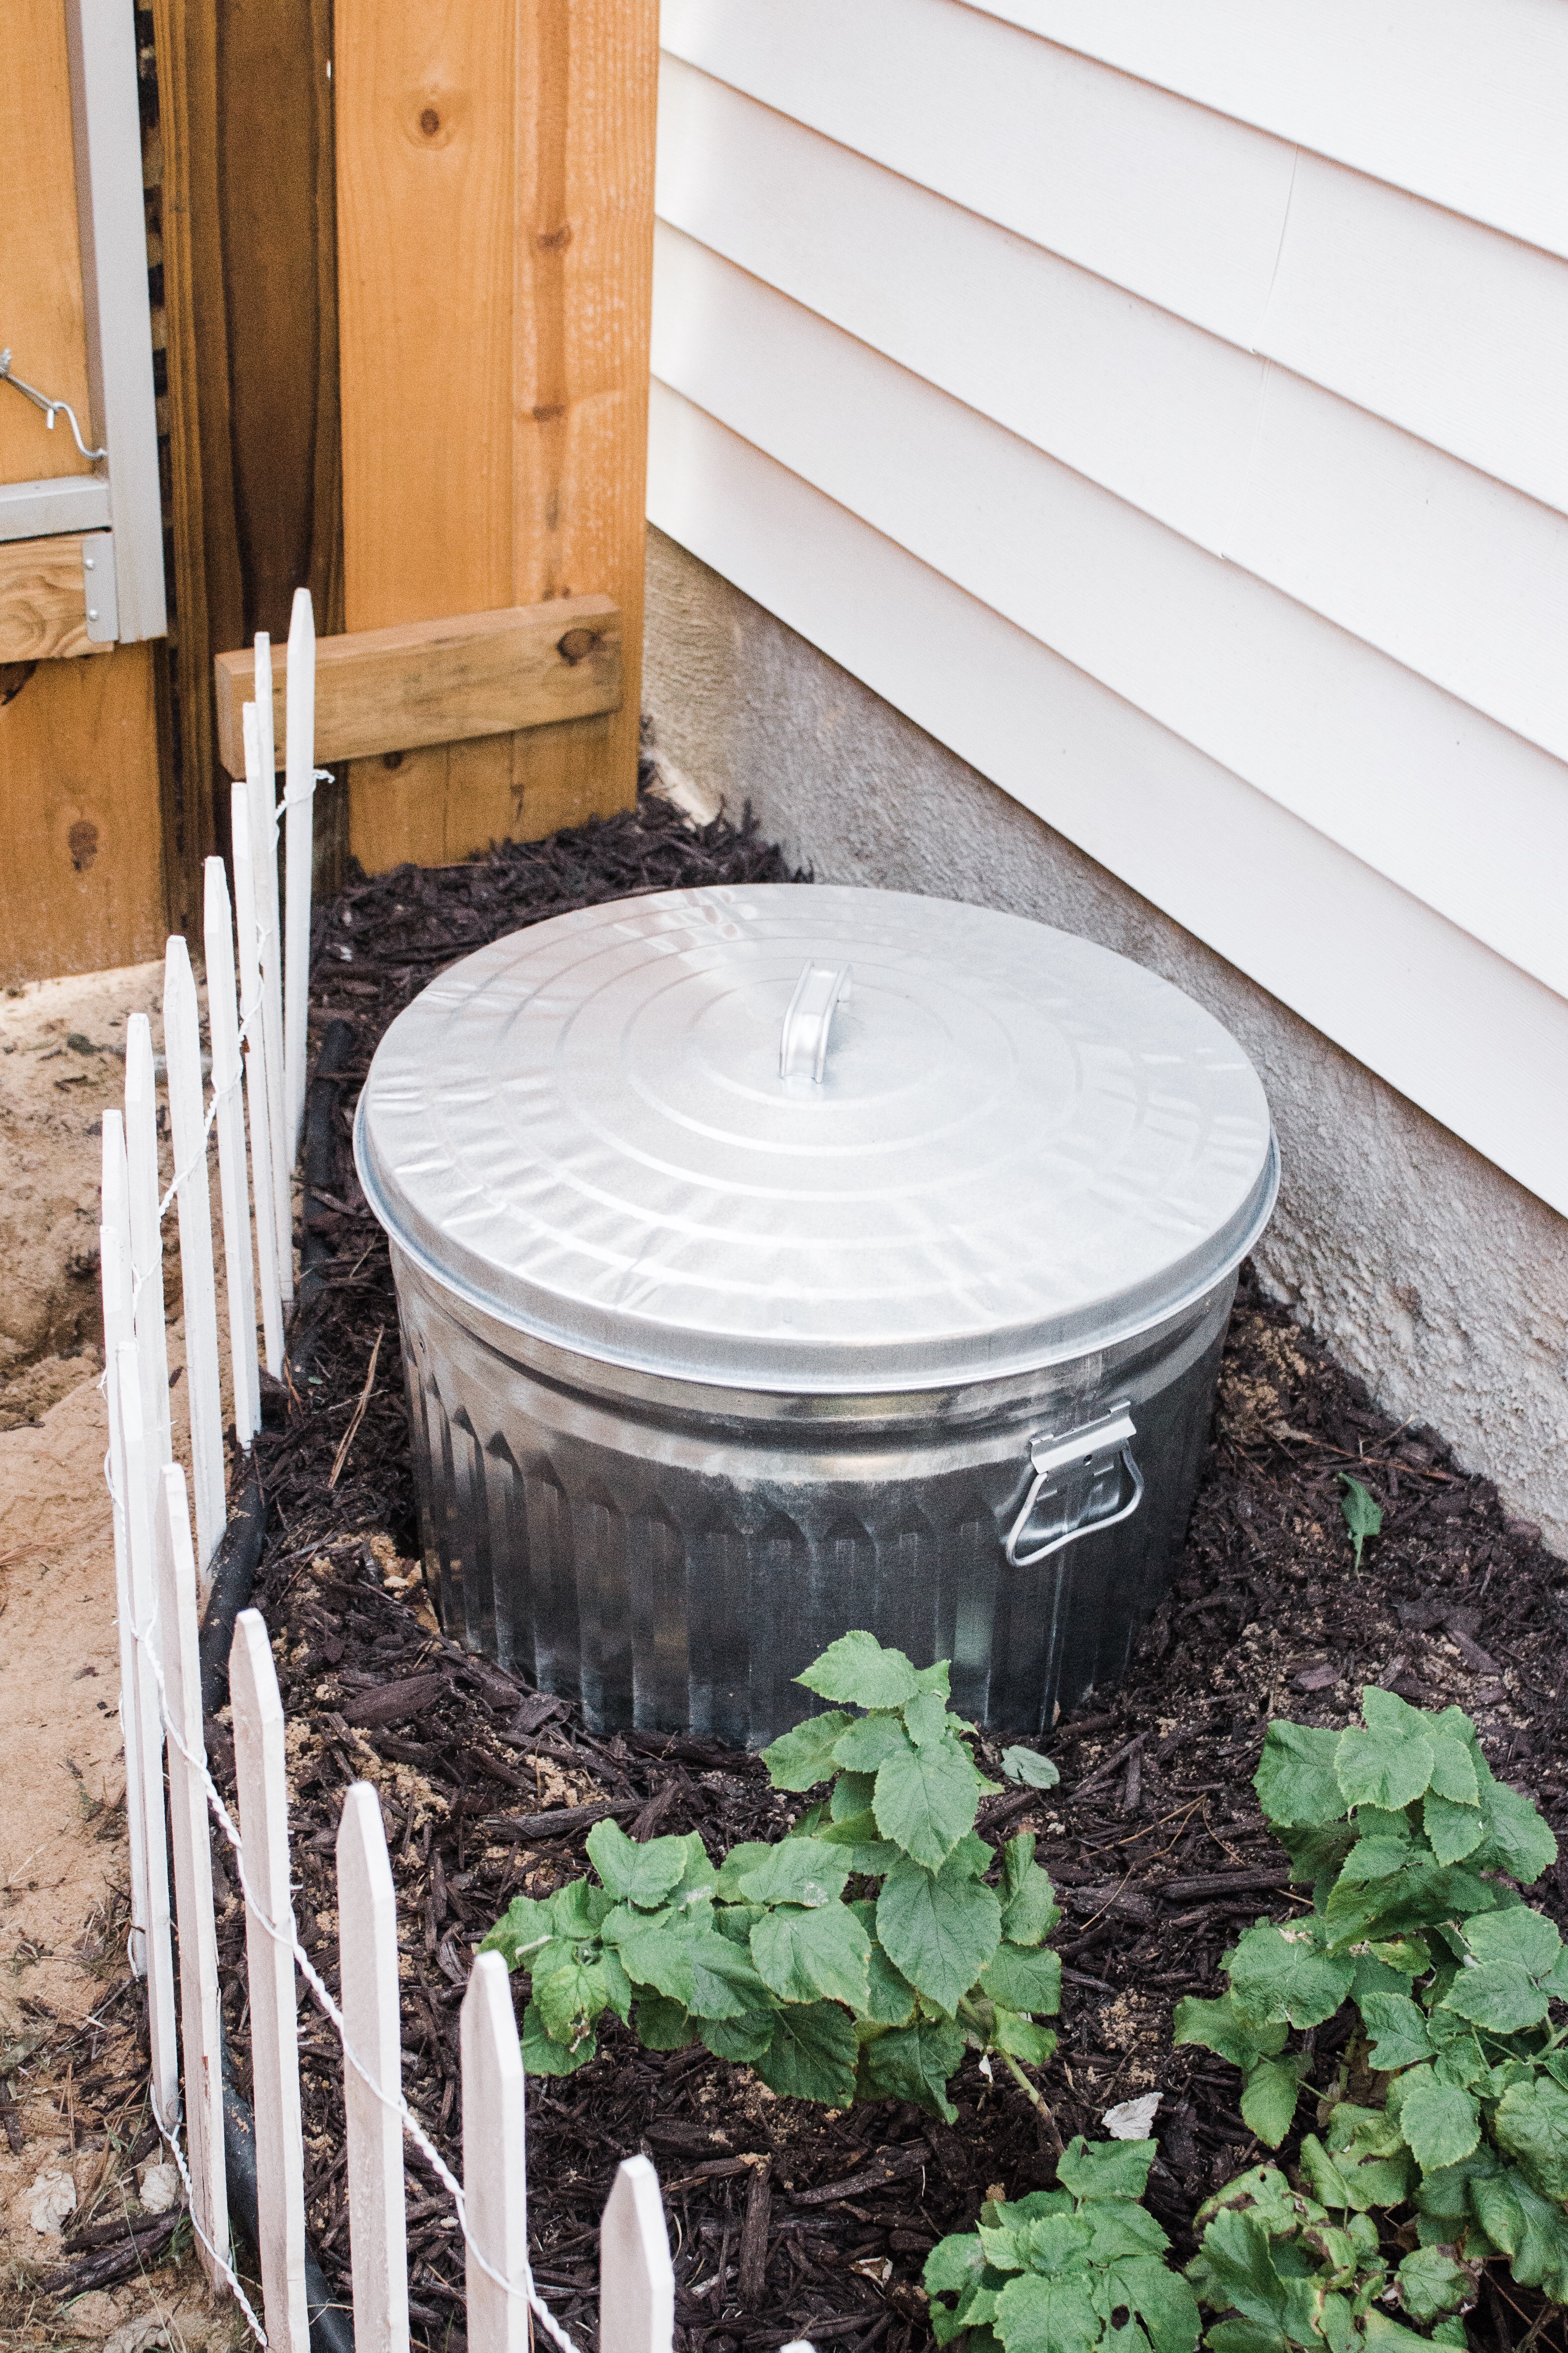
- Optional: if you have to worry about animals around your home getting into the bin, I would suggest buying one a trashcan with a locking mechanism on it or locking the lid down with a bungee cord.
- That’s it! Start saving your kitchen scraps, coffee grounds, brown matter, etc. and start adding them to your container. Stir the pile 1-2 a week. and before you know it, you’ll have compost.
If you’re preparing your garden for fall, this is a great time to start composting! Along with that, if you’re like us and love having mums and pumpkins around the house for the season, you know that they’ll eventually rot and die. HELLLLOOOO compost bin! Pumpkins can be pretty expensive so it makes us feel better knowing that we’ll be able to recycle them to use in our garden next year. Plus, we won’t have to buy any compost since we will have produced our own!
I hope this post helps! Let me know if you all have any questions!
Save this post for later:
Other posts you might enjoy:
Stock Tank Garden Planters
All About Our Little Garden
Old Ladder Upgrade DIY
jordan jean
Leave a Reply


Hi, do you put water in it on a schedule so that it keeps moisture? Thank you
Nope! The moisture from the ground does the work. It comes through the holes we drilled in it.
How do u get the compost out when there is new stuff on top
I’m not sure but I hope somebody answers the question
Hi! Which question are you referring to?
Oh I see now… We’ve used this method for 4+ years now and have learned that what works best for us is to set a time where we stop adding compost to that container so that it can prepare for when we plant the garden. If you want to still keep adding compost, I’d recommend having 2 containers so that you can have them on a rotating schedule so that you can still add scraps to one of them while the other is preparing.
[…] Credit: jordanjean.com […]
I like how this uses metal instead of plastic, to avoid nasty plastic chemicals leaching into your compost. I’m very curious, did you end up seeing worms inside the bin?
Yes! We had worms in there that had gotten in through the holes we put in the sides! 🙂
[…] Image Source […]
Can I do this without putting it in the ground? Will it still work properly?
I believe you can, yes!